The basement was, well, a basement. Besides the obvious, the concrete floor had worn away to dirt in several places, there was evidence of severe termite infestation and the main beam had a serious looking crack.
Thanks to the garage costing me front windows and legal egress, the basement really isn’t much use as living space. That’s okay. It will be my future shop.
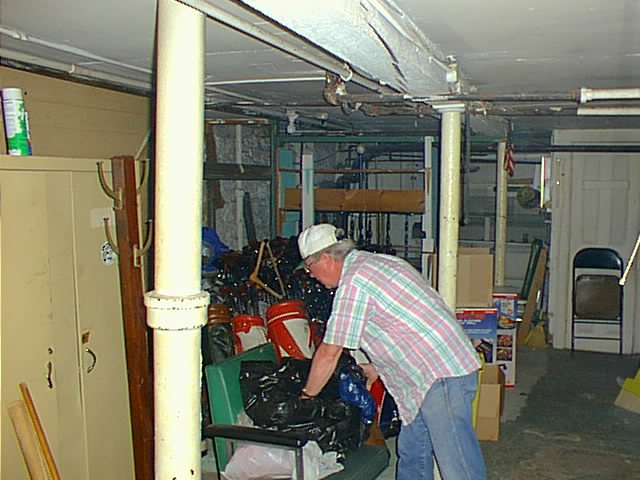
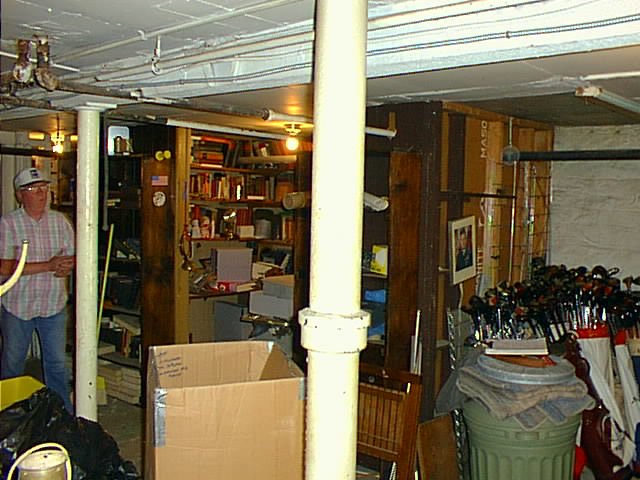
The seller’s cousin shows me around the basement storage room. Note the crack in the main beam over his head.
Another less obvious problem, including one missed by two termite inspectors, was the colony feeding on the joists underneath that funky old homosote ceiling.
Let's get to work...
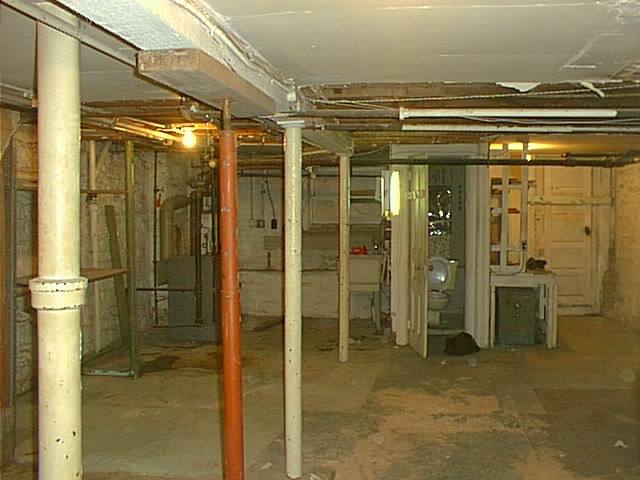
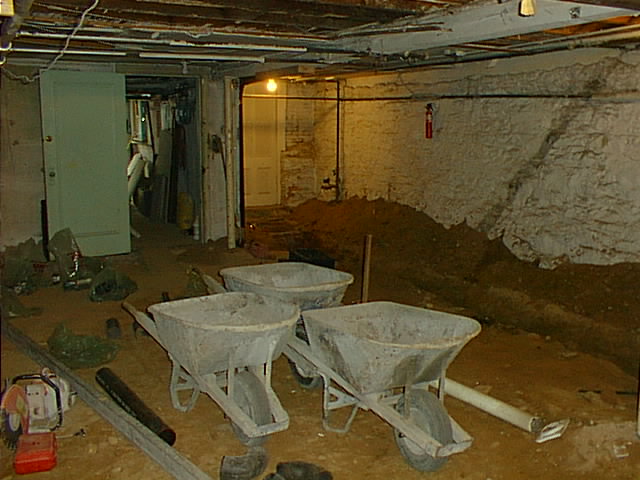
The first order of business was three days of gutting. The basement was littered with partition walls built from odds and ends apparently found on garbage pickup day. The stairway, or what was left of it by the termites, came down with a couple of well placed cuts of a Sawzall. Take a look at the angle on the john in the back. Guess where else those varmints hit.
Note how the seller chose to “fix” that cracked main beam: with a lally column; yet another basement obstruction. Well, that’s going soon.
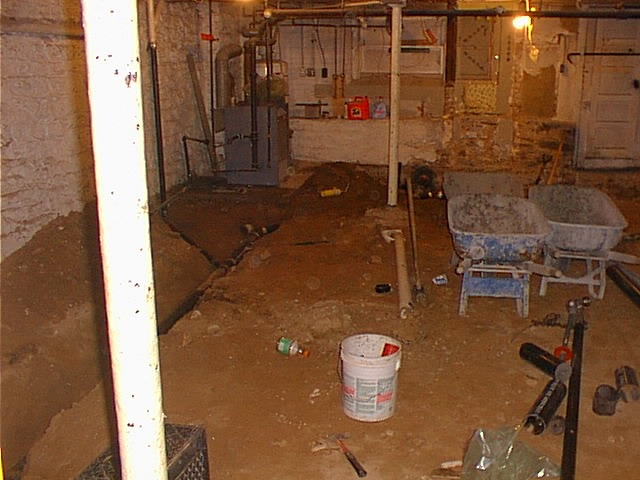
The next job was to rip up the concrete floor. As it was so thin and cracked, this was actually pretty easy. A sledge hammer, a crowbar and some strong backs were all that was needed. And a twenty cubic yard dumpster.
Since this was the perfect time to replace the hundred year-old plumbing, trenches were dug and new no-hub was run and plumbing roughed in for a downstairs bath. It was easy work for me because I left these two jobs to licensed contractors. Hey, I pick my battles.
I originally wanted to drop the finished floor six inches but a laser level put that idea to rest. The existing floor was waaaay out of level. To do so would have meant having to re-pitch all the plumbing underneath. So I settled on removing eight inches of dirt at the back and two at the front.
The upstairs waste pipe was also removed. It will be doglegged against the back wall at tie-in to remove yet another basement obstruction.
With a great deal of angst but the assurance of an engineer who said that it existed mainly to take the bounce out of the upstairs floors, the main beam and posts were carefully removed in order to get a clean 3500psi concrete pour.
This really wasn’t the way to do it. While the house didn’t collapse, the upstairs plaster took a beating from it. It took a roll of mesh tape and three days of plastering to fix the hairline cracks.
The steam heat pipes, water, gas and most electrical have been relocated to the central soffet, next to the new steel I-beam. CAT-5 ethernet cable was pulled to a central punch block across the ceiling. A central vacuum was installed (Vacuflo, visible on the back wall in the new utility room). Temporary lighting was installed. A full bath has been rough-plumbed, vented and wired, along with a laundry alcove. A glass block wall replaced the old termite-ridden double-hungs and a kalamein security door was installed.
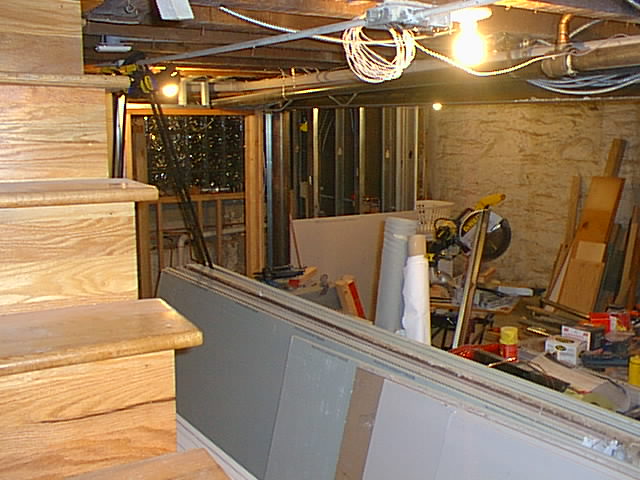
Another angle. I still have to frame the party wall. You can see the drywall I need for that. I just have to move that one last piece of conduit and the ceiling will be ready for can lights and sheetrock. One issue came up in the very cold weather lately: the fact that I don’t have any basement radiators. It’s comfortable now but once the utility room and that soffet are closed in, it could get a bit outdoorsy down here. I hit upon a novel solution: installing forced air vents along the soffet and a small squirrel cage fan to evacuate heat from that 2″ steam pipe, possibly triggered by a thermocouple on the pipe.
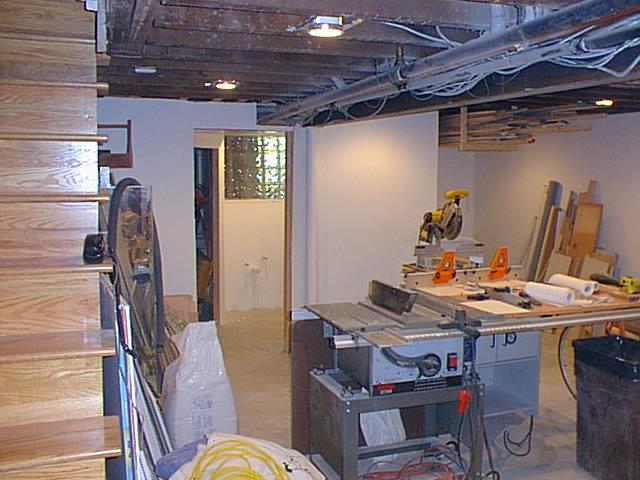
Most of the drywall is up, taped and primed. 13 recessed lights replaced the temporary lighting, all running on X10 of course. The full bath is ready for tile and fixtures.
View from the back. The ceiling will probably be the last thing I close in because there’s still a bit of wiring I need to do for the first floor
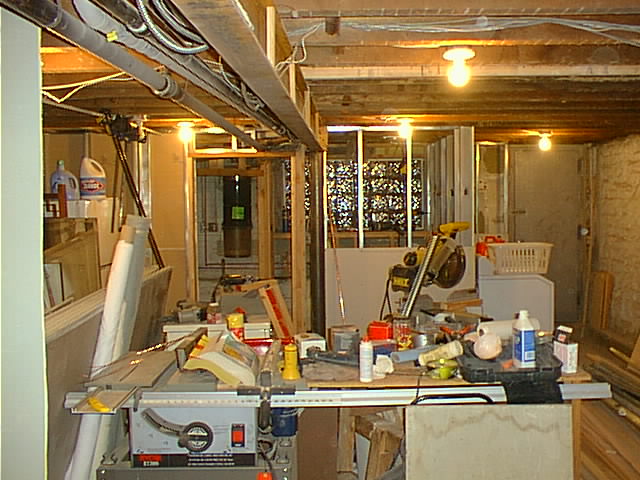
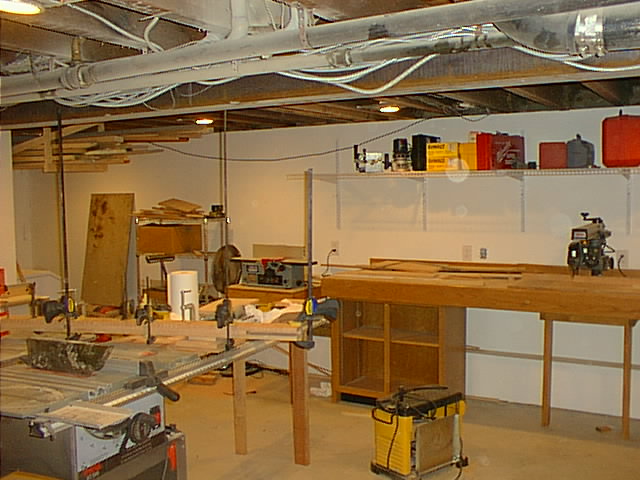
The basement may not be finished but the shop is functional. So I’m moving on to other projects in the living areas. Those clamps are securing one of the French doors I’m building for the living room rehab. See all that dust on the pipes over the table saw? It’s because of static electricity generated by the central vac pipe overhead. I get a lot of abuse for that red oak workbench I built.
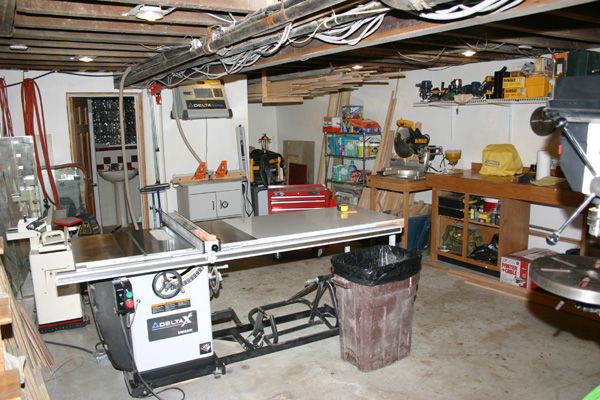
Three years later, with more tools.
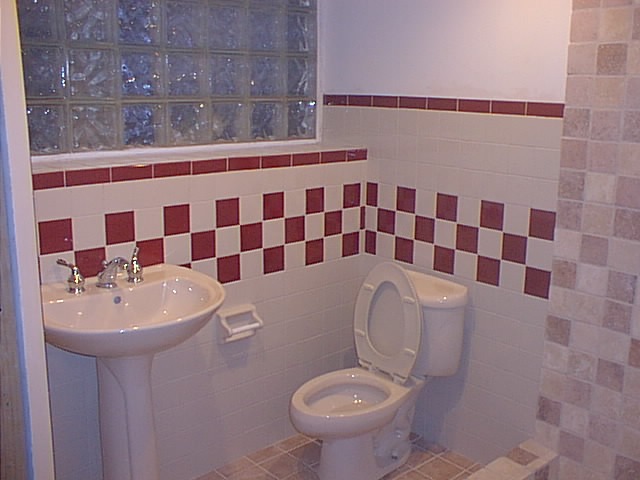
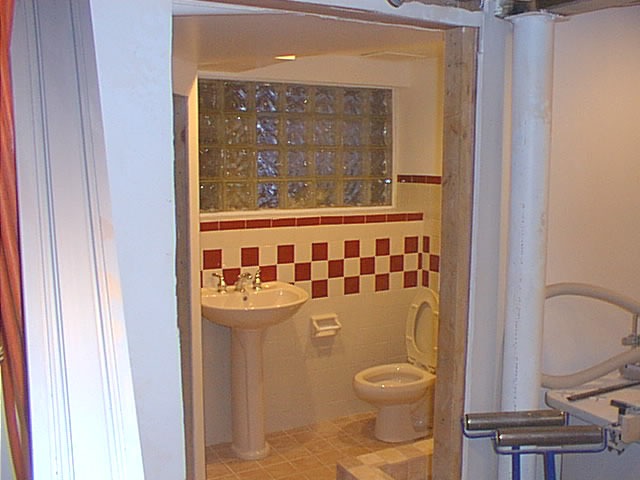
The basement bath is done, except for installing the doors. I’d like to say this was a painless job but just rerouting the plumbing to hide it under that pedestal lav, which I needed because of the restricted knee room for the john, took a weekend.
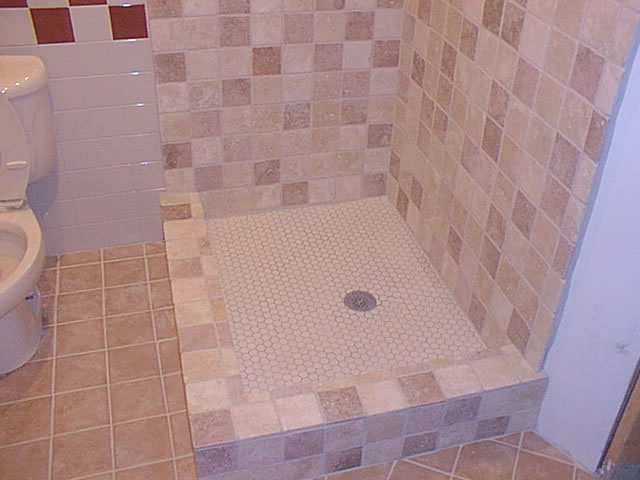
The shower pan. This was a wonderboard, mud and liner job. Yes, I know the tile match is dubious. I started off building and tiling the shower and got a great deal on tumbled stone from a contractor overage. Unfortunately, I didn’t have enough to do the entire bathroom and to buy this tile at retail would have blown the budget big time. That’s my story and I’m sticking to it.
View from the shop.
Scroll to Top
Welcome to Brooklyn Row House
This blog is about the challenges of renovating an old (1903) Brooklyn, New York row house.
My last major renovation project was the master bedroom, most of which is about finish carpentry. You’ll find other completed home improvement projects in the Projects submenu at the top of this page.
I’m not a professional builder and don’t pretend to be. I’m just an experienced amateur raised in a family of committed DIYers. I try to closely follow local and national building codes but don’t mistake anything on this site to be professional or even accurate advice! Your mileage may and definitely will vary.
This is the third iteration of BrooklynRowHouse.com, from scratch-built to Drupal and now Wordpress. I hope you enjoy your time here.