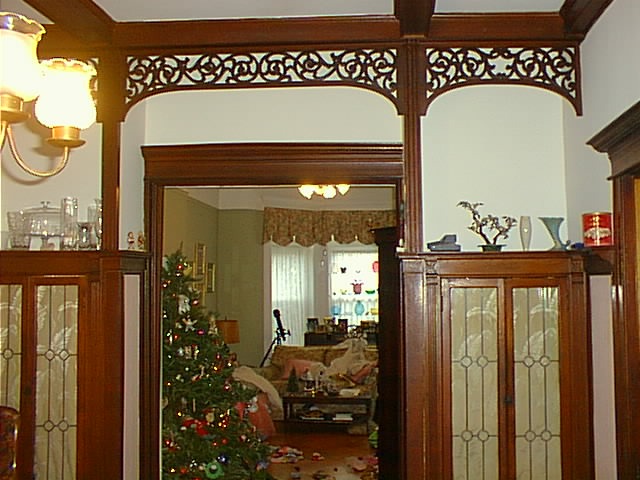
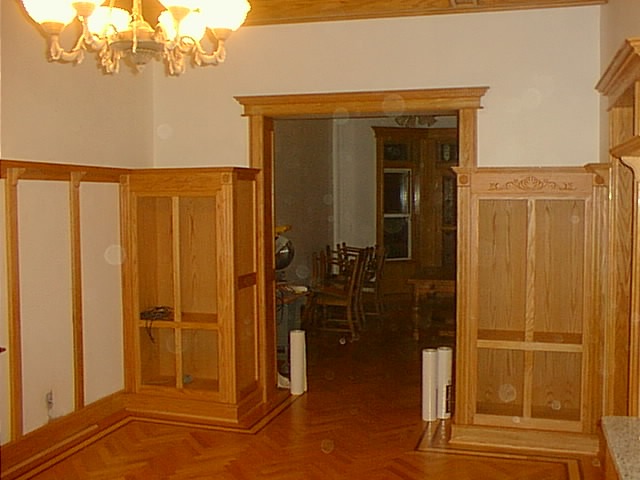
This isn’t my house. I mentioned on the home page how tasty the original woodwork was in these houses and how the previous owners of mine inexplicably ditched it all. This is the dining room in my neighbors’ house. It’s hard to believe that a hundred years ago this was how formula homes were built. You wouldn’t find woodwork like this in a modern house costing seven figures.
Originally, I wanted to replicate this without the dark stain but as I got into the project I decided to be a little more creative and a bit more practical.
The upper doors frames are done. I’ll decide this week what I want in those panels. Whatever, it will be leaded glass
Let's get to work...
Faceframe construction. I was originally going to do this with solid lumber but I still had a lot of nice red oak plywood left over from the ceiling. I ripped some of the old oak from the original beams to use as banding to hide the plywood edge. I like the subtleness of the mitered picture frame detail on the faceframe and plywood adds dimensional stability you can’t get with solid hardwood. Veneer plywood also makes it a lot easier to get matching grains, especially with lumberyard red oak.
Much of the face frame will be concealed by column details, which will be solid oak… mostly recycled stuff.
The faceframe had to be strong because these cabinets are going to be heavy, especially with stained glass doors hanging on them. So I biscuit joined the rails and stiles and used a pair of pocket screws at each joint. I resisted pocket screw faceframe construction as an artless shortcut because so much cheap prefab cabinetry uses it, but I’m a convert. It only took one project to sell me on how well it works.
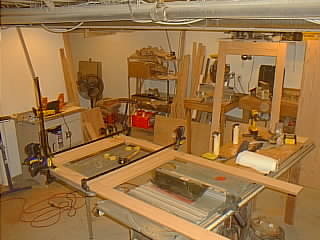
Frame assembly. Before this was done I half-lapped the edges for the side panels. I prefer using the router table for this, mainly because my Ryobi table saw sounds like it’s about to grenade with a 3/4″ stack dado set.
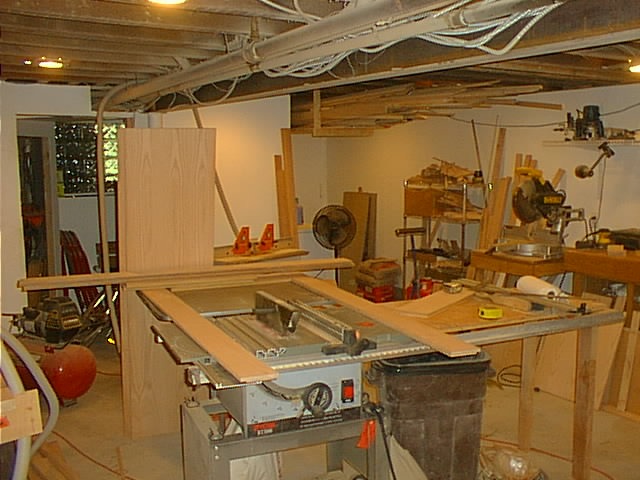
Faceframe #2. When my tax refund arrives I’ll make the decision between a Delta or Powermatic 66 replacement for the BT3000.
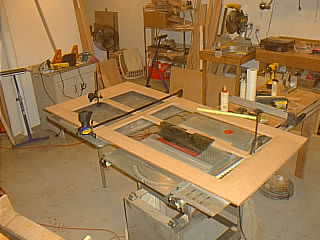
3 months later: I got a new table saw: a 220v, 5hp Delta X5. It’s probably more saw than I’ll ever need but it’s better than having a saw that tips over in the middle of ripping a sheet of 4×8 plywood!
The inside rails and stiles are glued and pocket screwed to the perimeter frame. These are solid oak, not plywood.
The faceframes are done, awaiting sanding. The side panels are already cut and half lapped for the back. I’ve got to weasel someone with an SUV to help me haul a couple of sheets of 1/2″ red oak ply for the back panels. My VW Golf isn’t up to the task of plywood retrieval.
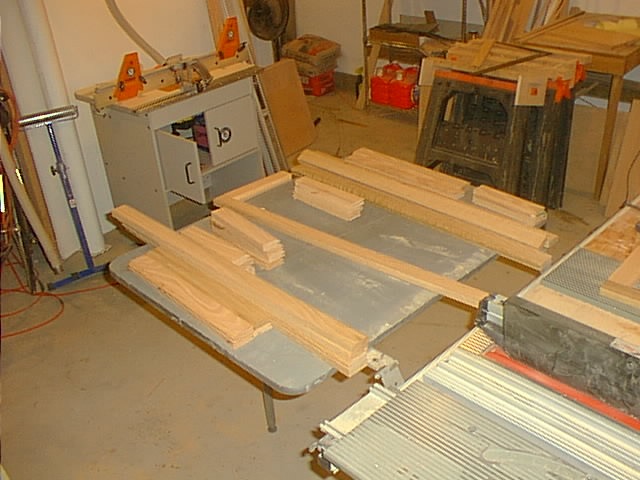
Milling the rails and stiles for the cabinet doors. The lowers will have raised 11″ panels made from laminated and biscuited 1×6 red oak blanks. The uppers will either be stained or mullioned glass. I haven’t decided yet.
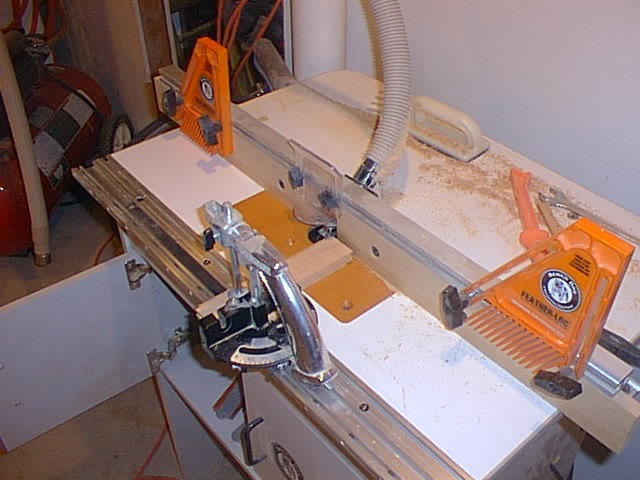
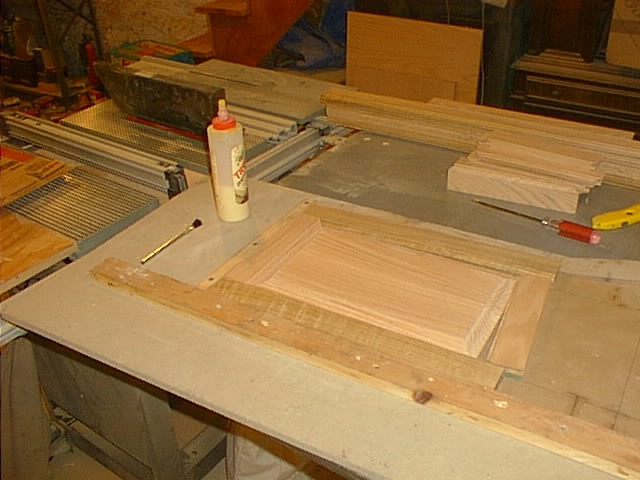
Dry-fitting the the lower cabinet door frames. These are 1×2″ red oak that I ripped from 1×6. To accomodate the raised panel, I used a pair of router bits called rail and stile cutters. If you’ve never made a raised panel door before, it’s simpler than it looks. I used to think this was a black art. One cutter does the visible profiling around the edge and digs a 1/4″ x 3/8″ dado for the panel. The other cutter is a reverse profile for the perpendicular member. It’s used on the end grain of the lumber of the rail. See below.
I’m using the ‘B’ bit to cut the rail so it mates with the exposed ‘A’ cutter profile. The trick here is that you’re cutting end grain which has a tendency to split out. You would normally back the rail with a sacrificial piece of scrap lumber to prevent tear-outs. Instead, I did this cut in several passes, which worked well enough. It’s critical that the fence and guide be perfectly square and that the roller bearing on the bit is flush with the fence. The hardest part is getting the “B” profile bit to match the “A” profile’s depth. You go through a lot of scrap lumber when setting up the bits so it’s best to plan the cuts as a production line.
Door construction. I built a jig to make sure the doors are assembled square.
The panel can’t be glued or nailed into the rails/stiles because humidity will cause it to expand and contract, especially across the grain. It has to float in the frame.
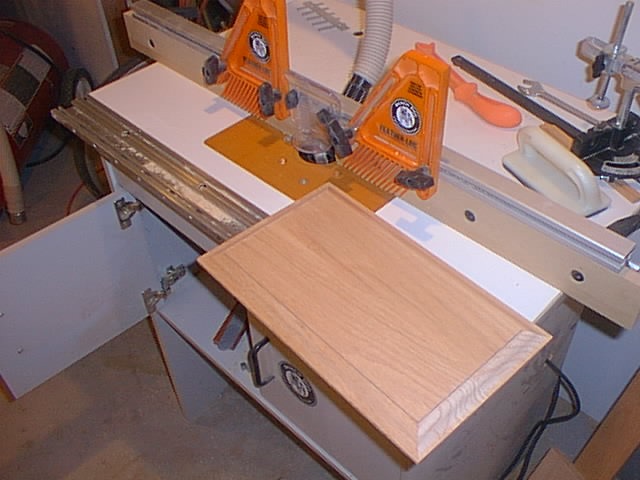
The panel cutter is the third bit in the exciting raised panel trilogy. There’s not much to say about it. Cut across the end grain first so the perpendicular cut will remove any tear-out. Also, this should be done with a variable speed router set to low speed. Panel cutters are wide bits and the torque at a router’s nominal speed can cause the carbide tips to fly off… not reassuring on a waist-level table tool and a bit spinning at 200mph.
The lower doors are done, awaiting sanding.
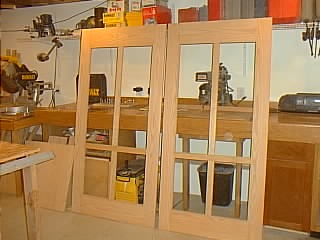
The upper doors frames are done. I’ll decide this week what I want in those panels. Whatever, it will be leaded glass
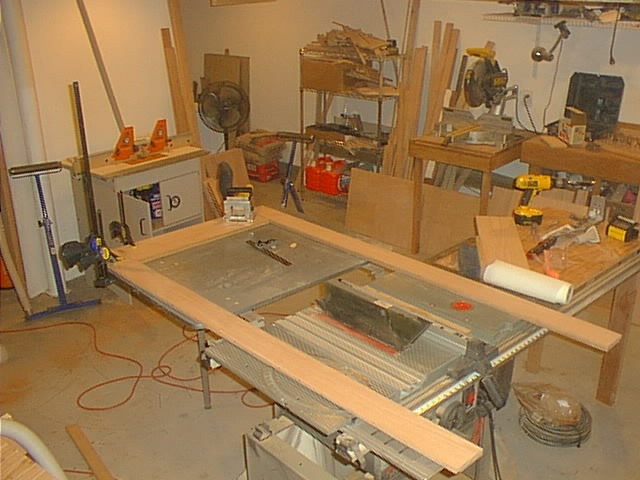
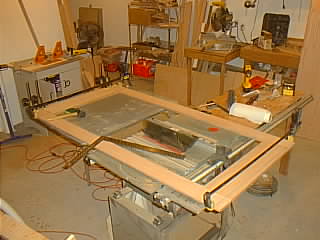
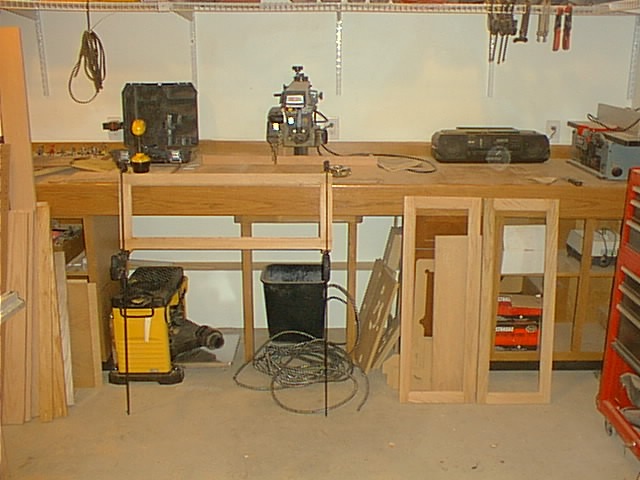
I needed another photo to balance the page so here’s a shot of the cabinets before the door installation. By the way, I’ve since removed the center stretcher in the upper cabinets. It was a useless obstruction.
If you’re into this stuff, there will be a “Son of Shop Page” in the near future, if only because I haven’t started the second floor renovation yet. I have big plans for that, including a bunch of computer room built ins. For now this project will continue on the Dining Room page.
Scroll to Top
Welcome to Brooklyn Row House
This blog is about the challenges of renovating an old (1903) Brooklyn, New York row house.
My last major renovation project was the master bedroom, most of which is about finish carpentry. You’ll find other completed home improvement projects in the Projects submenu at the top of this page.
I’m not a professional builder and don’t pretend to be. I’m just an experienced amateur raised in a family of committed DIYers. I try to closely follow local and national building codes but don’t mistake anything on this site to be professional or even accurate advice! Your mileage may and definitely will vary.
This is the third iteration of BrooklynRowHouse.com, from scratch-built to Drupal and now Wordpress. I hope you enjoy your time here.