Inspection Day: The Guest Room
Renovation By The Numbers
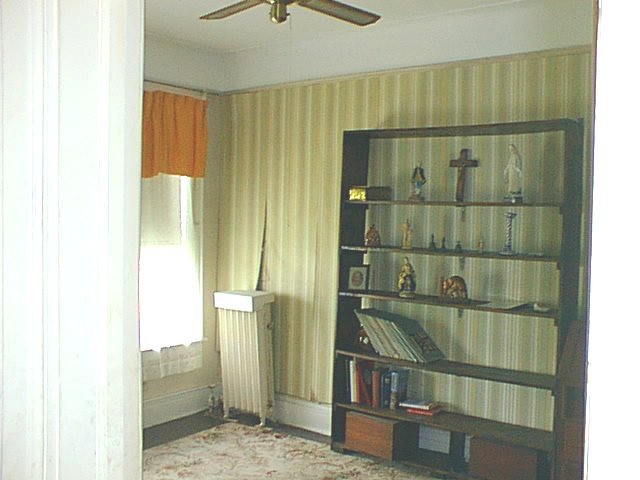
A few House page viewers asked me to walk them through a typical room renovation. This room already had a lightweight renovation when I moved in and needed to set up my office quickly. Now it will undergo a complete refab for a guest room.
Generally speaking, I have a few fixed strategies for renovation, at least in this house:
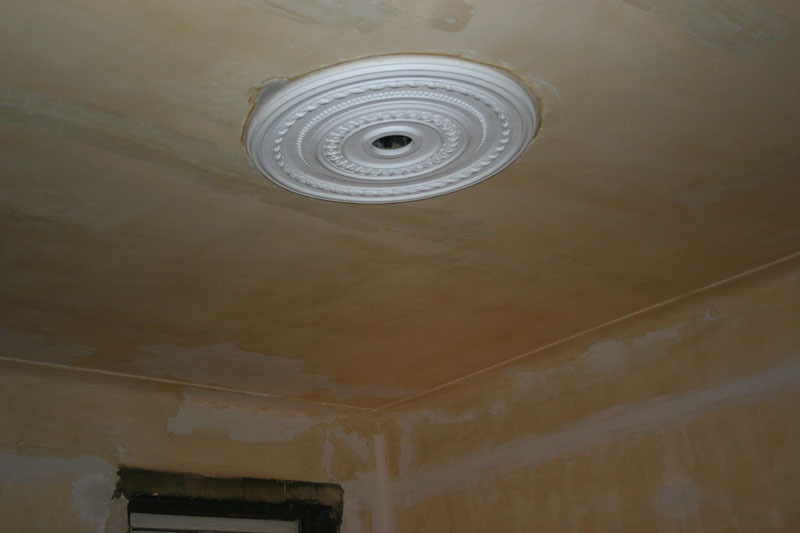
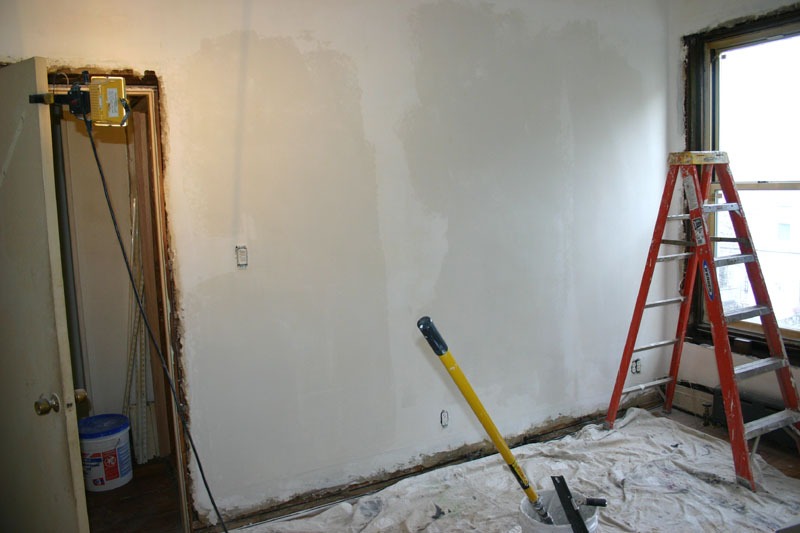
- Preserve the plaster whenever possible. Some people do drywall rehabs, then spend a bundle paying someone to skim coat blue board so it looks like plaster. Plaster is superior to drywall for sound and durability so it makes sense to save it.
- Replace old electrical with new BX and boxes. Plastic sheathed cable (NMS)is legal here but I don’t like pulling it through nail-strewn walls. NMS also means another wire hookup inside the box.
- New floors.
- New woodwork.
Let's get to work...
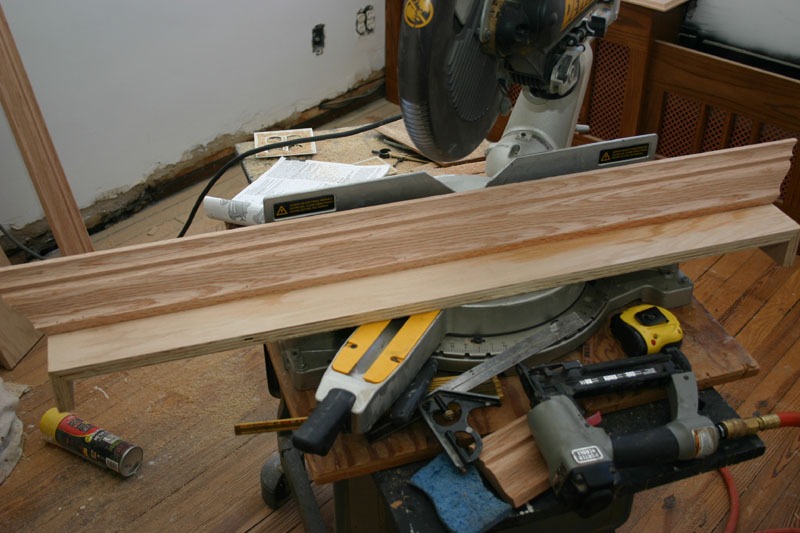
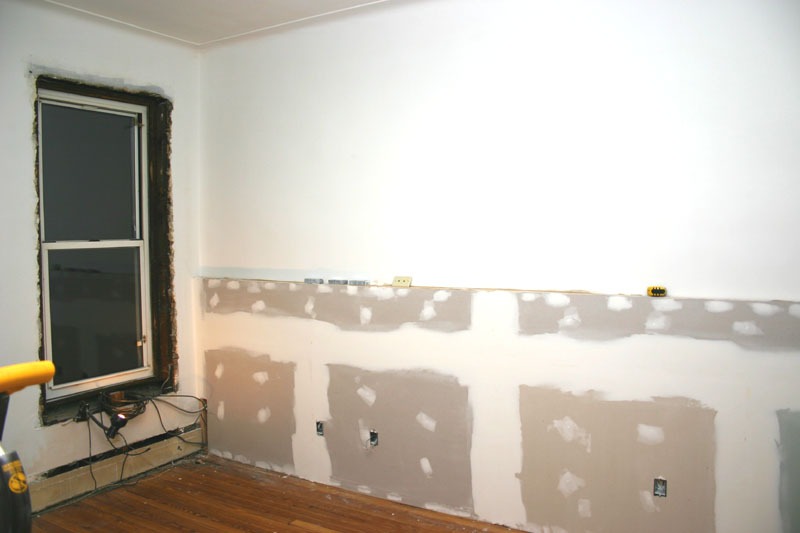
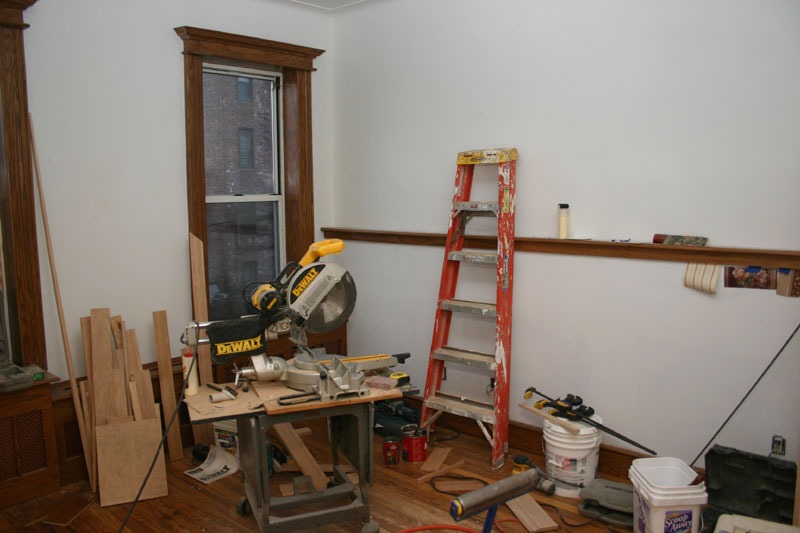
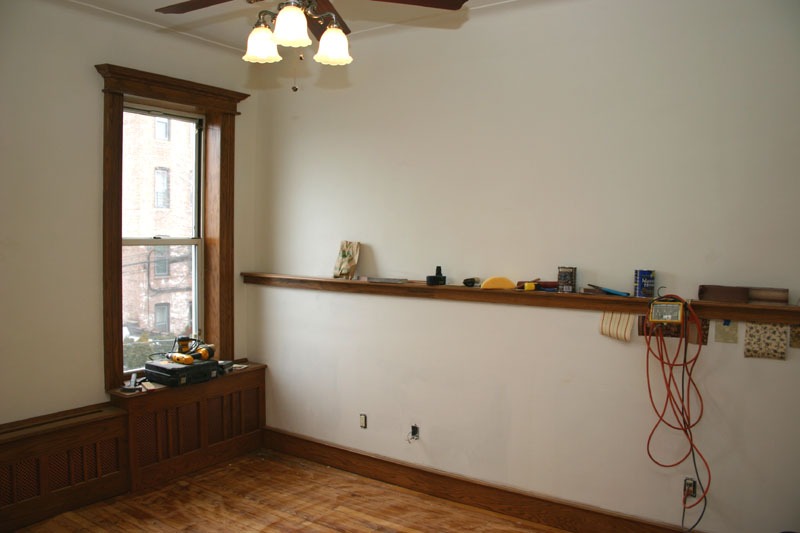
I ran into an issue with the wiring, or rather how to hide it. I had BX for electrical, phone and CAT5 wiring for the office, the main feed for my satellite dish, the second floor security alarm wiring and two coax cables for the room itself which I had to somehow disguise along this wall. But the wall is plaster over brick. What to do? I decided to build a bump-out with 2x3s and drywall and cap it with an oak shelf.
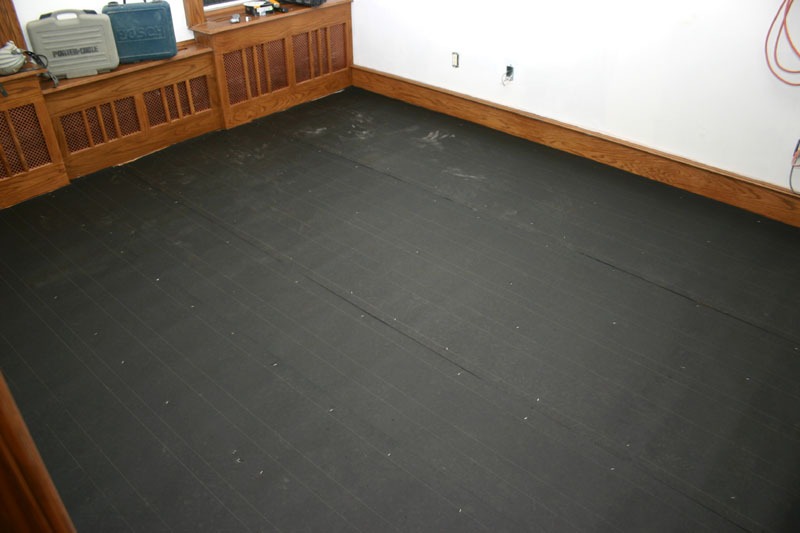
The floor and shoe moulding is done and the wallpaper is up. The wallpaper was problematic, or rather the original stuff was. I picked up the latter at a seedy wallpaper store in Boro Park, hung it that night and three hours later it was peeling off the walls. The pool of rain water inside the store should have been a free clue to the quality of what I was buying. The stuff in the photo is Home Depot standard issue and it went up, and stayed up, without a hitch.

