The prologue of this story is an old door that needed to be stripped. I brought in my amateur stripper, Doc Karen, to serve as my photo model for this two part pictorial. Even anesthesiologists have to moonlight to make ends meet these days. I was gratified that she took our tutorial seriously enough to wear her surgical scrubs (mismatched as they were).
Karen’s own house is full of painted architectural woodwork so she wanted to learn how the paint stripping process worked. Since it’s her door now I was only too happy to hand her the tools and take my position behind the camera, tucking an occasional dollar bill in her rubber glove and yelling, “Take it all off, baby!” until she reminded me that she knew 60 ways to kill me undetectably.
The first thing she did was get the door in a comfortable working position on a pair of sawhorses. Whenever possible, try to remove the woodwork and get it horizontal. This applies to baseboards and casings too. If you don’t, you’ll know why this is a good idea about twenty minutes into working with a heavy heat gun. These things ain’t hair dryers.
Karen prepped the area so she would have the tools and supplies she needed when she needed them. I told her it was probably what they do before one of her operations. This is less important at the heat gun stage than it is when you start with the chemicals. Get all your scrapers and brushes together. Lay a plastic garbage bag on a convenient nearby surface where you can set down your grungy tools when the phone rings. Place a 40-gallon garbage can within arm’s length and have a spare bag ready. Pre-rip a lot of paper towels into a pile. It’s hard to do that while wearing heavy gloves.
 Painted old house woodwork will commonly have varnish or shellac as the base layer. That’s good news for two reasons. One is because it provides a barrier between the paint and the wood. This is a time saver when you’re working with an open-grained wood like oak because it prevents the paint from melting into the grain, where the job becomes exponentially more tedious.
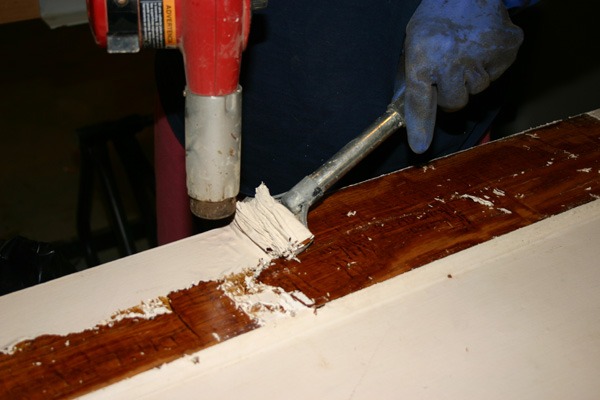
The other reason is because this makes a heat gun ideal for the first stage of stripping. Under heat, varnish liquefies before the paint so you can scrape off decades of paint in one pass and in one long ribbon, as Karen is doing above. If we had used only stripper on these five or six layers of paint, this door would have been a mess for hours. You can see from the photos how much easier the job becomes without having to clean up a witch’s brew of funky melted paint and noxious stripper. Minimizing the use of caustic chemicals is important, not just for your health but the health of the wood.
 She started by warming up a 4×10 inch area at the end of the door with the heat gun. You can tell the paint is ready for scraping when it just starts to lift, as you can see here. Don’t let the paint burn or blister, especially if you suspect lead paint (wear a chemical mask regardless though). Always strip with the grain whenever possible.
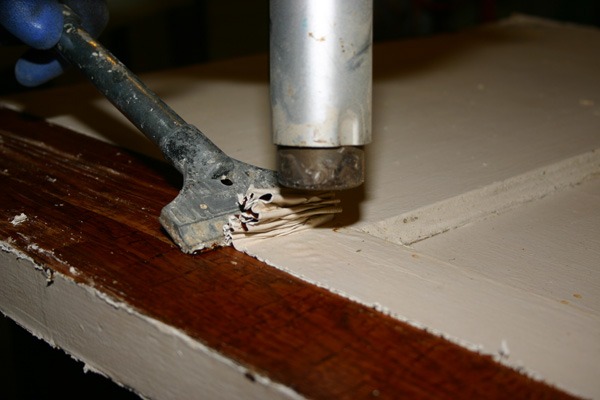
I like this scraper because it has an edge like a dull chisel so it slices under and lifts the paint better than does a flat scraper. The technique is to work slowly in a forward direction, keeping the heat gun a couple of inches in front of the blade, as Karen is doing here. If the blade starts to hit resistance, slow down and let the surface get a bit warmer. Don’t stop and go back to pick up something you missed. Get it in another pass. You don’t want the warm, sticky paint you just lifted off the surface to reattach itself to the bare wood.
When that ribbon of paint starts to fall back over the unscraped stuff, dump it in the garbage can. If you need a second pass with the heat gun, make sure to clean the scraper blade before starting again.
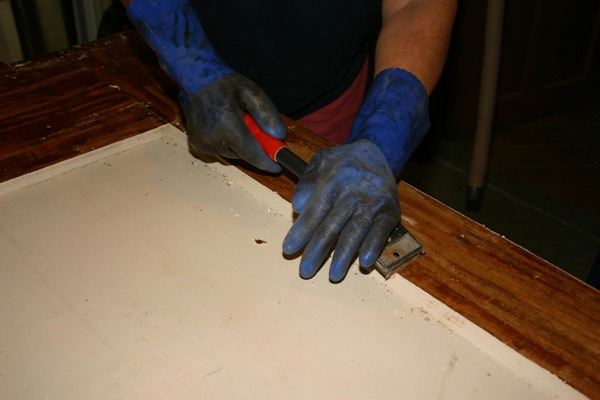 After the heat gun, the next steps is to scrape off the hardened residue with a pull scraper. Most of this will be hardened varnish. The center panel in this door will be removed and replaced with an architectural metal screen so Karen’s not stripping it.
 Now we go to the chemicals. My apologies to the “green” folks but none of the soy/citrus strippers work nearly as well as the hard stuff. Here we’re using Klean Strip. Karen bought the stuff you spray on; I like the KS3 gel that you paint on. Same stuff, just that whatever convenience you gain with a spray bottle you give up with having to refill the small spray bottle frequently.
The axiom is, “let the stripper do the work”. I like to let the stripper sit undisturbed for at least ten minutes. Resist the temptation of toying with it during this step. Chemical strippers are designed to create a seal to trap the active chemicals next to the paint. Breaking this seal lets in air and weakens the chemical action.
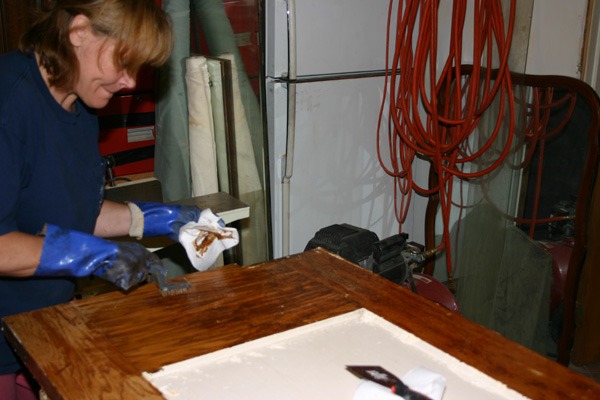
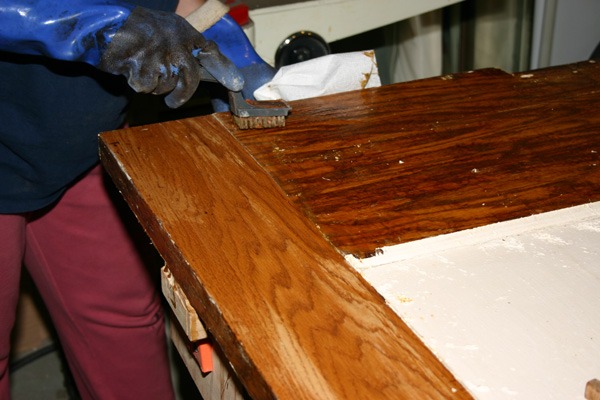
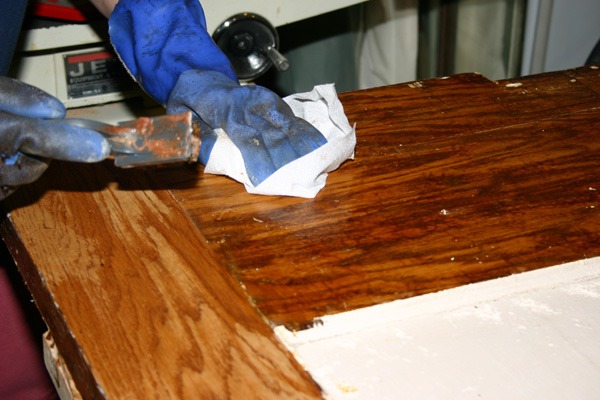 Then go at it with a fine wire brush, like Karen is doing. This is followed by a wad of clean paper towels. Then another spritz of stripper, another wire brushing, another wad of paper towels.
Usually, that’s all you need. This was Karen’s first time at stripping so we’ll need to do one more light pass to remove the last film of varnish. Then we’ll neutralize the stripper with MEK, which is optional but saves sanding later. Then it’s an overnight dry before sanding through the grits (100 and 150), which should always be done with a dust mask after stripping. If you have fine detail to clean out, use a metal dentist’s pick and a small wire brush.
![]()