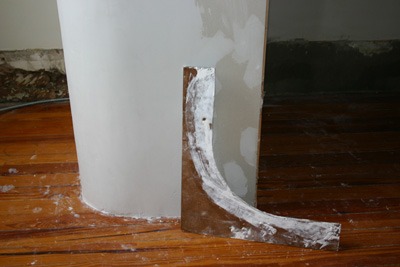
It worked! It took four days, three fifty pound bags of plaster, a makeshift profiling knife and a couple of finish coats but the radiused closet corner is done.
There was only one mishap. Jack the Dog, my Newfoundland, was standing at the base of the ladder looking up at me when about 8 ounces of wet plaster fell off my palette and landed squarely on his head and muzzle. Against his black fur it looked like he’d been smacked in the face with a custard pie. So there was a quick diversion to the back yard for a bath before the plaster dried. He took both ordeals in good spirit but when I got back my batch of plaster was hard as a rock. So I had to run out for another bag.
If you’re new to our three-part closet drama, Episode One was the framing. It was followed by the exciting tragedy in Part Two: the skinning, or the Drywall Strikes Back.

Plaster should be applied over a tacky bonding agent so before the second coat dried I mixed up a bag and a half of plaster and water spiked with a half cup of white vinegar to retard the plaster from setting too quickly. I made the mix a little wetter than normal so the knife wouldn’t gouge the plaster.
I started from the bottom of the wall, laying in a thick bed of plaster about three feet at a time. Despite the retardant, I had to work quickly. When wet plaster hits dry plaster it seems to reduce the working time to a handful of minutes.
The first coat looked bloody awful — like the surface of the moon — but the profile was perfect. I let it dry overnight, painted on more bonding adhesive and repeated with most of the remaining plaster to fill in the large voids.
After that dried, I sanded down the rough spots with 100 grit and an orbital sander attached to the central vac. (The vacuum’s exhaust port also laid down a thin coat of fine white dust all over my back yard… the spider webs under the deck looked amazing). Then I mixed up the last of the plaster and troweled on a thin, wet finish coat.
There was a final sanding and a cosmetic touch up with joint compound then… my first architectural plaster! And hopefully my last.
Was it worth all this time and work? Certainly not, but I could say the same about most of my obsessive projects here and that doesn’t stop me. I just wouldn’t want to do it again.
But it blends in better with the existing upstairs walls, which I realized only recently don’t have any square outside corners.

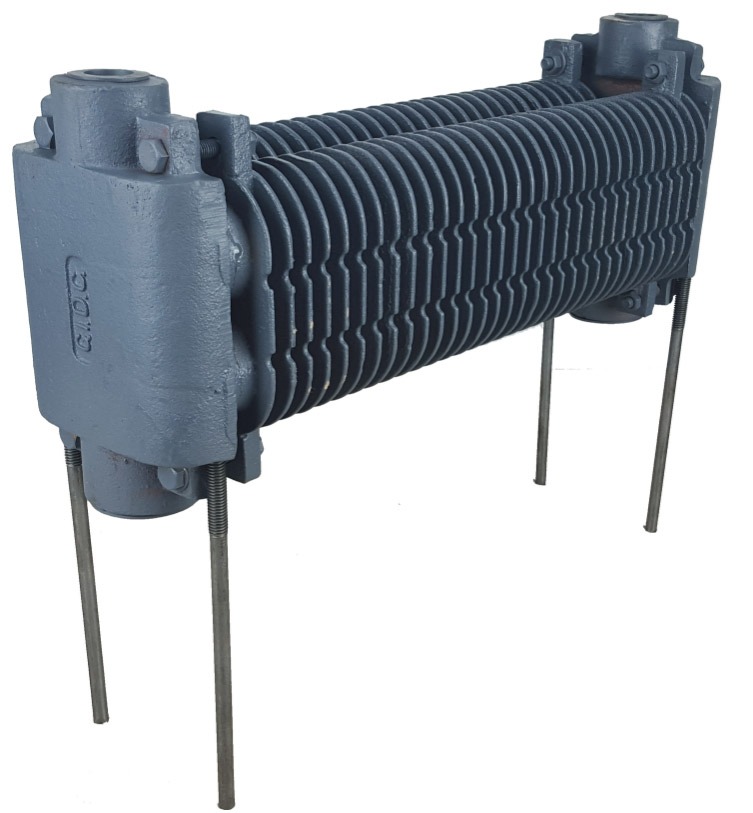
Total price for this job is a whopping $989. Yikes! The element alone costs $500 and weighs 300 pounds. I know that Sessa Plumbing ain’t cheap but they do excellent work.
After some mental back/forth about whether to do the job myself, I fell back on my Sun Tzu mantra: pick your battles. In this case, lugging a 300 pound radiator up two flights of stairs is something I can’t do, especially with my still-healing elbow, nor is it something I want someone without insurance to do.

