I’ve only got ho-hum jobs on my plate this weekend: insulation, plaster fixes, running BX… nothing worth blogging about. But I was thinking forward to what I’m going to need to finish off this bedroom renovation (in about three months).
Since the renovation involved merging two bedrooms, I now have two entrances into it. The problem is that the doorway I want to get rid of gives the upstairs hallway much of its summer light and is also needed for cross ventilation. After mulling it over, I decided to replace it with a knee wall topped by a pair of stained glass windows.
Four years ago, when I was deep into my living room reno, I had to replace a pair of cheapo french doors to the deck over the garage. I built the red oak doors in my shop and started pricing store-bought stained glass panels. Of course, nothing came in the sizes I needed and to commission those four panels was going to cost me well over a thousand bucks. So I sez to myself (I sez), “how hard can it be?” Stained glass fabrication looked like simple woodworking joinery to me.
I spoke to my neighbor, Betsy, who had once taken a stained glass class, and she lent me all her tools, including a glass grinder. But I was clueless how to get started. Betsy said she wanted to take a refresher class because she wanted to make cabinet door inserts for her own kitchen reno. So did Karen. So we all signed up for a beginner’s class at Albert Stained Glass in Park Slope. In fact, we were the class.
After learning the basic techniques, both copper foil and lead cane joinery, it turned out to be almost as simple as I’d assumed it would be. Then again, I wasn’t building church windows.
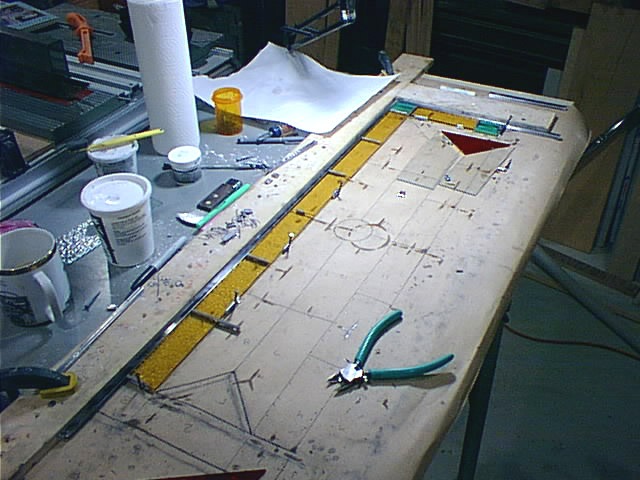
The layout. The design incorporates elements in the existing living room transom and entryway sidelight windows. My table saw extension is the layout table.
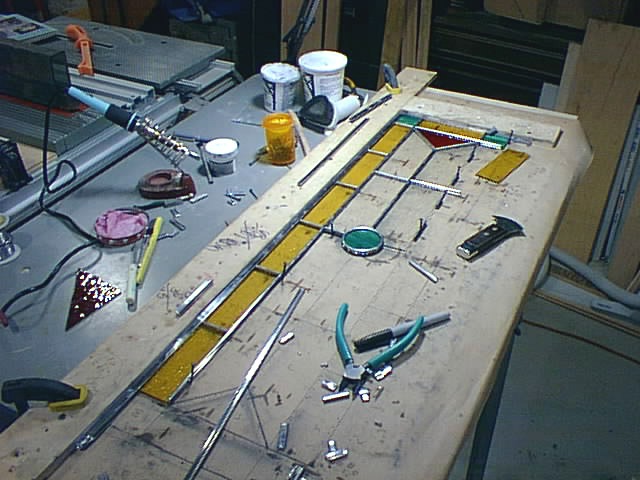
Laying out stained glass is a bit like building a jig saw puzzle. Tight fits are important because stained glass is basically just a broken window repaired with lead cane. Gaps between cane joints or cane and glass will be weak points later.
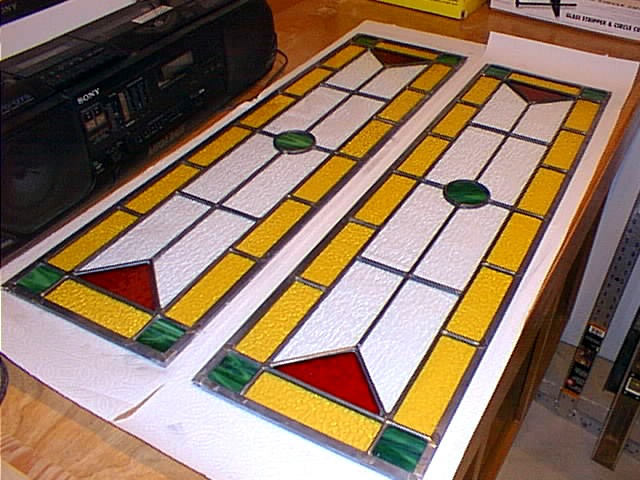
Two down, two to go. The panels are puttied and polished and have to lay flat for three days to cure. So do I occasionally.

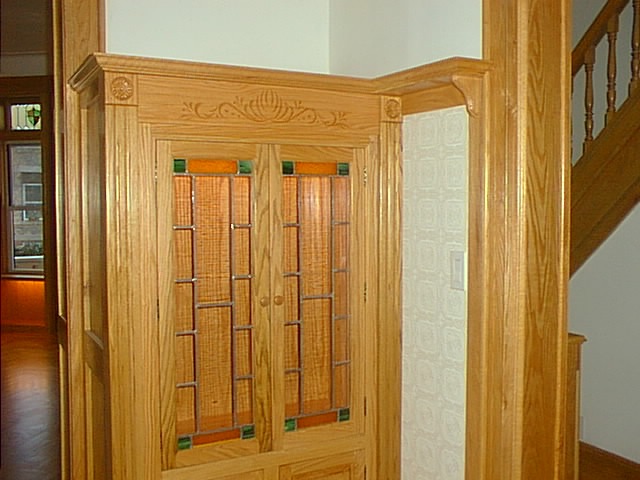
The stained glass panels are installed in the living room french doors. Unfortunately, the ornate wrought iron doors behind it kind of obliterate the glass with the low winter sunlight beating on them.
The total cost of materials to make these four panels, including the cost of the class and my own set of stained glass tools, was under $500. Even better, I was able to leverage that investment to make two pairs of doors for a couple of cabinets I built for my dining room renovation. If I recall, the total cost for the glass and the lead cane for this was under $100, or about the same material cost as four sheets of plain, boring glass. I think this looks better.
I’ve got four stained glass projects to do: the media cabinet in the living room, the skylight over the stairs. the bathroom skylight and these bedroom windows. But I also want to build a couple of weatherproof stained glass light boxes for the back yard, with low voltage lights inside. I think that would look pretty cool, especially in the winter.
Anyway, stained glass fabrication is something that almost anyone can learn to do pretty well. And there are tons of books with tasty stained glass patterns available so it’s almost like paint-by-the-numbers. Just take a class to learn the basics and let your imagination loose on your home.
![]()