You DIYers know what I’m talking about. A friend comes by to check out your latest completed project and goes “ooh! ahh!” over the paint color and asks where you got your terrific door knobs. You modestly thank him for the compliment. But, deep inside, you feel like Michelangelo after hearing, “Hey, nice paint colors. Where’d you get the cool frame?”
You shed blood on this room for… what?… three months and that’s all he can see? Paint color and door knobs?! Is he blind or just clueless? He doesn’t see the five hundred feet of mesh tape you skillfully buried in the wall to fix the broken plaster and the hours you spent scraping and spitting out paint chips? He doesn’t appreciate the week you spent getting the squeaks out of the floor or the rerouted heating or the four independent lighting circuits or the door it took two days to get plumb and level or the brazillion trips you made up and down a ladder till your quads burned, the scraped knuckles, the twisted elbow and the bottle of Costco ibuprofen you’ve swallowed over the past 12 weeks just to dull the pain enough to get some sleep?
Perhaps that’s why we blog. It documents proof that we did more than just roll on some paint and screw on a door knob.
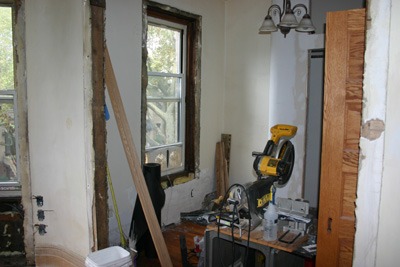 I’m at that stage of the master bedroom rehab now. I’ve worked on it for the past five days. Last night I broke out the Canon to take took a “progress shot”. Then I compared it with one taken last Saturday. I was crushed. The only thing that looked different is that I had more tools in the room. I know I did something in that room because I’ve got a blood blister on my thumb, “plaster hair” and a pile of filthy clothes that says I did.
This is what I remembered doing anyway:
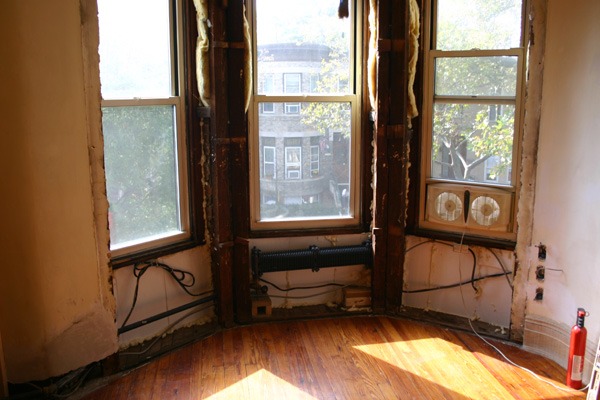
- spent a day rewiring the room and adding a new circuit. That required bashing and repairing a few holes in the walls,
- removed, reframed and replaced the loose plaster wall under the anteroom window,
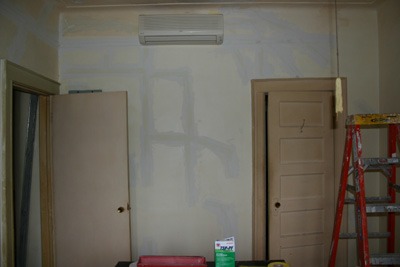
- wired and installed lighting in the new closet,
- removed/repaired more loose plaster,]
- rerouted the satellite and phone wiring inside the walls and added new outlet boxes for them in the “media corner”,
- shoved insulation into the walls where I could and sprayed foam insulation in gaps around the window frames,
- scraped out loose mortar and filled the gaps with mortar caulk.
- hauled the old double bed down two flights of stairs for garbage night (by myself),
- scraped the walls and ceiling, gouged out cracks with a painter’s five-in-one tool and TSP’d everything in preparation for mesh taping today.
 So, yeah, I did a lot of work! But you’ll have to take my word for it. In this case, cameras do lie.
![]()