I’ve been pushing off this little project for a couple of months. The bedroom renovation began with construction of the closet and the curved plaster corner I absolutely had to have (if for no other reason than I’d never done one before). I knew that was going to create problems with the trim later but, hey, later is later. Six months later, later became today.
There are basically four ways to build a curve using solid lumber. One is to steam it and bend it in a jig. Bending 1″ nominal hardwood stock to as shallow a radius as I need is probably impossible, at least with my skills, and since I don’t have a wood steamer anyway, it’s moot. So let’s move on.
The second method also involves a jig but instead of bending solid lumber you build up thin veneer layers like plywood. You can construct a very small radius this way and lots of glue ensures a stable curve. The third way is to saw lots of narrow vertical kerfs in the back of the stock, leaving a thin facing layer to make it bendable. It’s tricky but this method wouldn’t work for me anyway because the board has a half-lap detail.
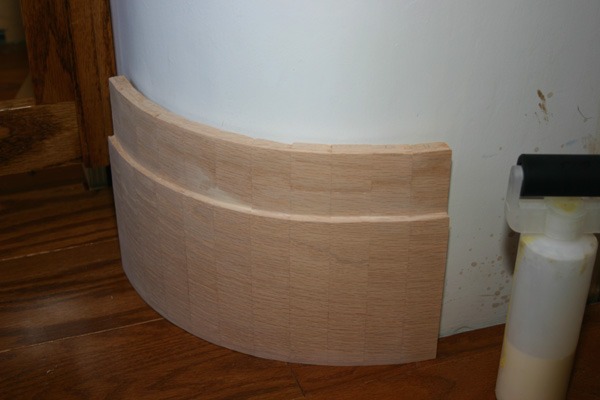
 I chose Option #4: build up the curve using several narrow pieces of lumber edge-laminated together. It’s not really a smooth curve however but a polygon… kinda like the difference between a raster and a vector curve. However, since that’s how all the convex curved woodwork was originally built in this house, it’s Authentic. That’s my story and I’m sticking to it.
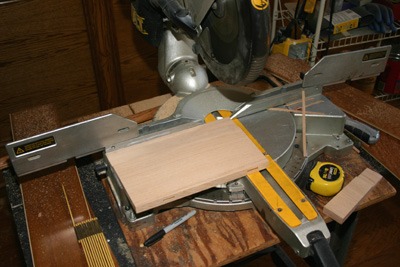
 So how do you calculate the miter and width of each piece? Fortunately, dumb luck made this almost a textbook exercise. The corner’s circumference is eleven inches. If I were to use one-inch wide pieces how many pieces would I need? You, the kid in the back corner. That’s right, eleven pieces. But how do you calculate the miter angle for each piece? If you glue together eleven pieces of lumber you have ten joints. A 90 degree angle divided by 10 equal joints would mean that each joint would have to be 9 degree corner. Since a corner is two equal miters, then the miter is 4.5 degrees.
Am I smarter than a fifth grader or what?
Alright, there’s a bit more to it, like the fact that the face of the baseboard will have a larger circumference than the back, but a little guesstimating set the width of each piece to 1-1/8″ at the face. Close enough.
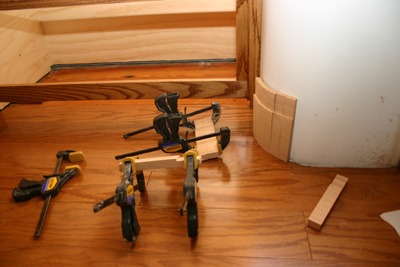
Construction was pretty routine except that clamping was a bit of chore once the curve extended past 30 degrees. So I constructed the baseboard as three sets. Then I assembled them around the jig I’d used to make the knife to construct that plaster corner: a plastic bucket. A strap clamp held the pieces snug while the glue dried.
It still needs cap and shoe mouldings and, of course, it would look better actually attached to the wall. More to come.
![]()