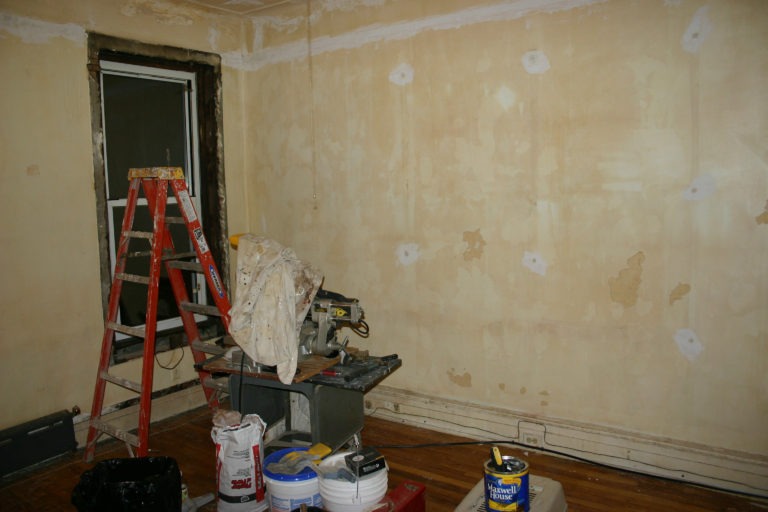
I’ve got a lunch meeting with a prospective client today so I’ll dive into the first priming of the master bedroom project this evening. This gives me an opportunity for some virtual renovation this morning: reading the Houseblogs sites and posting to my own.
Bill over at Enon Hall posted a cool Top Ten list. There are some good tips there. Ya’ll should check it out (although my lumberyard likes to see double-spaced, typed materials lists with product codes and a letterhead, preferably faxed in advance).
Since I’m in “wall prep mode” I thought I’d post my own Top Ten in that area. So without further ado…
Top Ten Tips for the Wall Obsessed
- Scrape the walls thoroughly with a two-inch blade. A wider blade will miss depressions. On plaster, tap the walls lightly. Brown coat plaster which has lost its bonding will sound hollower than the surrounding wall. Paint which is losing its adhesion will have an orange peel look to it.
- Scrub the walls and ceiling with TSP before you repair them. This will remove airborne grease, oily hand residue, cigarette smoke, etc which can reduce the bonding of your plaster or compound. For enameled walls, sand them lightly to reduce the sheen.
- Drywall screws leave a sharp rim around the hole which leads to those little round cracks we’ve all seen before. Before taping, whack each hole with a hammer to dimple them. Do the same with any exposed drywall paper edges that won’t be hidden by tape.
- Prepare plaster cracks by digging a V groove down the center with a beer can opener or painter’s 5-in-1 tool. This will remove loose plaster and increase the bonding surface for the repair.
- For plaster, apply a masonry bonding agent to the immediate repair area. Careful with drips; it’s not easy to clean up after it dries.
- On plaster walls, use plastic adhesive-backed mesh tape to repair cracks. Use plaster at least for the initial coat. Paper tape should not be used on plaster cracks. It’s made for drywall, which has built-in expansion seams every four or eight feet. Plaster is a solid wall-to-wall mass which develops stress fractures due to weak points in the framing. The crack is just a symptom. Even after it’s repaired it will have a tendency to crack again so you need to use a tape which can take the seasonal expansion and contraction.
- For either drywall or plaster, make the first coat as thin as possible. Leave just enough plaster/compound under the tape to ensure a good bonding. Use a side light to look for any high spots. Don’t obsess over any low ones. You’ll fix that in the next coat.
- Keep your blades clean. I have two sets of knives with one set soaking in a bucket of water. I swap them every fifteen minutes or so.
- Don’t contaminate your joint compound with grit. Never return unused joint compound from your palette or hopper to the bucket. Throw it out. By the same token, avoid returning unused compound from your blade to the palette. Just slap it over the next joint. I like to work with two knives: one for application and one to clean off its blade.
- Before adding another coat, run a dry blade down the repair to remove any loose compound which could gouge the following coat.
Are ten not enough? Good, because here’s Rule #0 — my cardinal rule for wall finishing:
Always work with a side light! This is critical on the final coat and sanding. A side light will reveal high and low spots which will probably show up later under normal room lighting. During sanding, I hold a 100-watt spot light in my left hand and shine it down the repair. It will also show drywall paper that’s been roughed up by too-aggressive sanding and which will look terrible if you apply an enamel finish coat.
![]()