One question I used to get asked on the old blog was, “where did you buy your window and door casings?” As any old houseophile knows, in the olden days trimwork wasn’t something you picked up at The Borg. Even in modest turn-of-the-century homes those mouldings were often designed by the home’s architect. Constructing them was the job of a master carpenter. Elaborate trimwork is one of the major details of an old home as well as one of its greatest attractions today. People with old homes go to great lengths to carefully strip and rehabilitate old baseboards and casings. I can’t stand stripping so I prefer to just remake them.
Compound casings are one of my favorite things to build — not because they’re a woodworking challenge but because they’re a lot easier to construct than they look. They’re also a great way to disguise an uneven plaster wall.
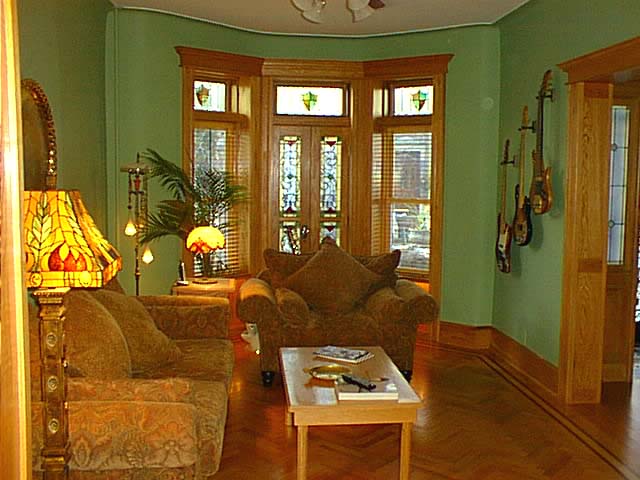
The trick is to create setbacks and shadow lines. Below is a relatively simple example, which I annotated to show the various components. This is the entrance to my living room.
 1 – I started off by building the base surround. This was leftover red oak plywood from a cabinet project. I shimmed it straight and plumb and fastened it with 10d finishing nails to the jack studs and header. I like using plywood for this anyway because the color is usually more uniform than plank lumber.
2 – next, I glued on some red oak lathing. This was cut on my table saw in 3/8″ strips from a scrap of 6/4 lumber I salvaged from the demolition.
The wide horizontal piece was a leftover riser scrap from when I built the basement stairs (shown more clearly here). I ran it through the planer to get it down to 3/8″.
3 – next was 3/4″ quarter round that I made on my router table from a long scrap of red oak. Actually, I installed 4 first, then filled the gap with this. It served two purpose. It gave a nice turn to the wall casing but, more importantly, it hid the plywood edge on the surround.
4 – next was some store-bought casing, Dyke’s #605 to be exact. Except for the crown moulding over the doorway it was the only lumber I bought for this job. I’ve got the router bits to cut my own now.
5 – this is a 1/2 x 1-1/2 return to the wall built from (you guessed it) a scrap that I ran through the planer to take down some of its visual weight. Then I used a 1/4″ roundover bit to ease the sharp edges. It serves another purpose too: to give a flat abutment for the base moulding.
Building compound details is really just about using your imagination, or in my case fusing my sense of cheapness to art. I basically build around whatever lumber scraps I’m tripping over in my shop at the moment. Fact is, all of my doorways are a little different; built from whatever I had on hand in the scrap pile. Plan your nailing points to disguise the nail heads as much as possible and provide a solid nailing surface for the casing. I use a lot of carpenter’s glue on these things and rely on squeeze clamps and brad nails to tack it together till the glue dries.
You can also use compound mouldings and casings in your pediments and baseboards. Here’s an example in the living room, both the windows and the door to the front deck:

![]()